
Welcome to the comprehensive guide for Rival Ice Cream Maker instructions. This guide covers everything from setup to customization, helping you create delicious homemade ice cream effortlessly.
1.1 History of Rival Ice Cream Makers
Rival ice cream makers have a rich history dating back to their inception, when they first began producing high-quality, user-friendly appliances. Known for their durability and innovative designs, Rival quickly became a trusted name in kitchen electronics. The brand’s commitment to excellence ensured that their ice cream makers stood out in the market, offering a seamless way to craft homemade ice cream. Over the years, Rival has continued to refine its products, incorporating advanced features while maintaining affordability. Their machines have become a staple in many households, cherished for their ability to create customizable treats. Whether for family gatherings or personal indulgence, Rival ice cream makers have played a significant role in bringing joy to countless dessert lovers. This legacy of quality and innovation has solidified their reputation as a leader in the ice cream-making industry.
1.2 Benefits of Using a Rival Ice Cream Maker
Using a Rival ice cream maker offers numerous benefits, making it a valuable addition to any kitchen. Its compact design and easy operation allow for seamless ice cream creation at home. The machine’s durability ensures long-lasting performance, while its user-friendly interface makes it accessible to both beginners and experienced users. A key advantage is the ability to craft customizable flavors, enabling you to experiment with unique ingredients and create healthier options free from additives. Additionally, the cost-effectiveness of making ice cream at home can save money over time compared to store-bought alternatives. The Rival ice cream maker also promotes sustainability by reducing waste from single-use packaging. Its versatility and reliability make it an excellent choice for anyone looking to enjoy high-quality, homemade ice cream with minimal effort.
Key Features of the Rival Ice Cream Maker

The Rival Ice Cream Maker features a built-in freezer, automatic churning, and customizable settings for desired consistency. Its compact design saves space while delivering professional-quality results effortlessly at home.
2.1 Design and Build Quality
The Rival Ice Cream Maker is crafted with high-quality materials that ensure durability and performance. Its stainless steel churn and BPA-free plastic components are designed for safety and longevity. The machine features a compact, modern design that fits seamlessly into any kitchen countertop, making it both practical and aesthetically pleasing. The built-in freezer bowl is a standout feature, eliminating the need for pre-freezing and streamlining the ice cream-making process. The overall construction is sturdy, with a heavy-duty motor that handles even the thickest mixtures with ease. The design prioritizes user convenience, with intuitive controls and a clear, easy-to-read interface. Additionally, the machine operates quietly, making it ideal for home use without disrupting daily activities. This combination of quality, functionality, and sleek design makes the Rival Ice Cream Maker a reliable choice for crafting delicious homemade ice cream.
2.2 Special Features for Customization
The Rival Ice Cream Maker offers a variety of special features designed to enhance customization. One standout feature is its mix-in opening, allowing users to add ingredients like fruits, nuts, or candy pieces during the churning process for unique flavor combinations. The machine also includes multiple speed settings, enabling precise control over the churning process to achieve the desired texture. Additionally, it features a pre-cool function that chills the mixture before churning, ensuring a smoother consistency. A built-in timer allows for hands-free operation, and its digital display provides clear monitoring of the process. For further customization, the machine supports adjustable settings to create varying ice cream consistencies, from soft-serve to hard-pack. These features make it easy to experiment with personalized recipes and achieve professional-quality results at home.
Assembly and Initial Setup
Assembly involves attaching the churning bowl and paddle. Ensure all parts are securely locked. Initial setup includes pre-chilling the bowl and washing components before first use.
3.1 Unboxing and Initial Inspection
Upon unboxing your Rival Ice Cream Maker, carefully inspect each component for damage. Ensure all parts are included, such as the main unit, churning bowl, paddle, and lid. Check for any visible defects or damage that may have occurred during shipping. It’s important to verify that the motor, bowl, and other moving parts function smoothly. Before assembly, wash all detachable parts with warm, soapy water to ensure cleanliness. Dry thoroughly to prevent any water spots. Familiarize yourself with the user manual provided, as it contains essential information for proper setup and operation. Taking the time to inspect and prepare your machine will ensure a seamless ice cream-making experience. Proper initial inspection helps prevent future issues and guarantees optimal performance. Additionally, make sure all electrical components are free from damage and that the cord is intact. This initial step is crucial for both safety and functionality.
3.2 Assembling the Machine
Assembling your Rival Ice Cream Maker is a straightforward process when following the provided instructions. Begin by placing the main unit on a stable, flat surface. Next, align the churning bowl with the base, ensuring it clicks securely into place. Attach the mixing paddle by inserting it into the designated slot on the motor head and twisting gently until it locks. Place the lid on top of the bowl, making sure it fits snugly to prevent leaks during churning. Finally, plug in the machine and ensure all electrical connections are secure. Refer to the user manual for specific diagrams or guidance, as slight variations may exist depending on the model. Proper assembly ensures smooth operation and prevents potential damage to the machine. If unsure, consult the troubleshooting section or contact customer support for assistance. Always handle electrical components with care to avoid accidents. Assembly should be quick and hassle-free, allowing you to start making ice cream right away.
Ingredients and Measurements
Quality ingredients and precise measurements are crucial for perfect ice cream. Common components include heavy cream, whole milk, sugar, and flavorings like vanilla or cocoa. Accurate ratios ensure optimal texture. Add-ins like fruits or nuts enhance flavor but require careful portioning to maintain consistency. Always measure ingredients before starting to avoid errors during the churning process. Proper balance prevents ice crystals and ensures creaminess. Refer to the recipe guide for specific proportions tailored to your Rival Ice Cream Maker. Adjustments may be needed based on mix-ins or dietary preferences. Measuring cups and spoons are essential tools for accuracy. Fresh ingredients yield the best results, so prioritize quality when selecting your supplies. Experiment with flavors while maintaining the foundational ratios for success. Keep track of measurements to refine recipes over time. A digital scale can be helpful for precise quantification. Always store ingredients properly before use to maintain freshness and safety. The right combination of ingredients and measurements ensures your ice cream turns out creamy, flavorful, and enjoyable every time. Regularly check expiration dates to avoid using spoiled ingredients, which can affect taste and texture. Understanding how ingredients interact is key to mastering ice cream making. Start with classic recipes before exploring more complex or unique flavor combinations. The churning process relies on correct ingredient ratios to aerate and freeze the mixture evenly. Proper measurements also prevent overloading the machine, ensuring smooth operation. Balancing sweetness and flavor is essential for a well-rounded taste. Adjust sweetness based on add-ins, as some ingredients naturally sweeten the mixture. Acidic ingredients like citrus may require adjustments in sweetener amounts to balance flavors. The type of sugar used can impact texture, with some providing better stability than others. Experimenting with alternative sweeteners is possible but may require recipe adjustments. Always dissolve sugars fully in liquids before chilling to ensure even distribution. Avoid overmixing, as it can incorporate too much air, leading to an icy texture. The ratio of cream to milk affects the richness and hardness of the ice cream. Higher cream content results in a richer, creamier texture. Milk adds moisture and prevents the ice cream from becoming too dense. Skim milk can be used for lighter recipes, while whole milk enhances richness. Combining different types of milk, like almond or coconut, offers dairy-free options with unique flavors. The choice of flavorings should complement the base ingredients without overpowering them. Extracts like vanilla or almond can enhance sweetness without added sugars. Cocoa powder or melted chocolate adds depth to chocolate-based recipes. Fresh fruits should be pureed or chopped to distribute flavor evenly. Folding in mix-ins during the churning process ensures they are evenly incorporated. Overmixing can break down ingredients and alter texture; Always chill ingredients before churning, as this ensures better aeration and a smoother final product. Cold ingredients also help the machine operate efficiently, preventing overheating. Proper temperature control is vital for achieving the desired consistency. Churning at the correct temperature prevents ice crystals and ensures a creamy texture. Ingredients should be at refrigerator temperature, around 40°F, before adding to the machine. Avoid using overly warm ingredients, as they can increase the machine’s workload and affect results. Properly aged mixtures, like custard bases, develop better flavor and texture. Aging allows ingredients to meld and fats to stabilize, resulting in a smoother ice cream. Resting the mixture in the refrigerator for at least 2 hours is recommended. This step is especially important for custard-based ice creams, as it enhances flavor and reduces ice crystal formation. Always label and date mixtures stored in the freezer for later use. Portion control is essential when adding mix-ins, as too many can disrupt the churning process. Distribute mix-ins evenly to ensure every bite has consistent flavor. For layered or swirl effects, add ingredients toward the end of the churning cycle. This prevents over-incorporation and maintains distinct flavors. The machine’s capacity determines the maximum batch size, so avoid overfilling to ensure proper churning. Leave enough space for the mixture to expand during aeration. Overloading can lead to poor texture and machine strain. Always follow the manufacturer’s guidelines for ingredient quantities and types. Some ingredients may require special handling, like tempering eggs or melting chocolate. Tempering eggs prevents scrambling when adding hot or cold mixtures. Melted chocolate should be cooled slightly before incorporating to avoid seizing or graininess. Acidic ingredients like citrus juice may require adjustments in sweeteners or stabilizers. Stabilizers like guar gum or carrageenan can improve texture but should be used sparingly. Too many stabilizers can make the ice cream taste artificial or gummy. Natural stabilizers like egg yolks or gelatin are great alternatives for homemade recipes. They enhance richness and provide structure without artificial additives. When using alternative milks, adjust stabilizers as needed to achieve the desired texture. For vegan recipes, ingredients like coconut oil or tapioca starch can help mimic dairy’s properties. Always taste the mixture before churning to adjust sweetness or flavor. Small adjustments are easier to make before the ice cream is frozen. Keep a notebook to record recipe tweaks and preferences for future batches. Tracking your adjustments helps refine recipes and ensures consistent results. Don’t be afraid to experiment with unique ingredients, but start with small batches to test flavor combinations. This approach minimizes waste and allows for adjustments without compromising large quantities. The key to delicious homemade ice cream is using fresh, high-quality ingredients and adhering to precise measurements. With practice, you’ll master the balance of flavors and textures to create personalized recipes that impress. Regularly clean and maintain your Rival Ice Cream Maker to ensure it performs optimally with every batch. A well-maintained machine and carefully selected ingredients are the foundation of exceptional homemade ice cream. Enjoy the process of creation and the joy of sharing your unique flavors with others.
4.1 Essential Ingredients for Perfect Ice Cream
To craft exceptional ice cream, focus on high-quality, fresh ingredients. Heavy cream and whole milk are foundational, providing richness and moisture. Granulated sugar or alternatives like honey or maple syrup add sweetness and improve texture. Flavorings such as vanilla extract, cocoa powder, or fruit purees enhance taste. Eggs, especially yolks, contribute richness and stability in custard-based recipes. Mix-ins like chopped nuts, chocolate chips, or fresh fruits add texture and variety. Always use fresh, ripe ingredients for the best flavor. Avoid low-fat or skimmed alternatives if seeking a creamy texture. For dairy-free options, explore alternatives like coconut milk or almond milk. Ensure all ingredients are chilled before use for optimal churning. Quality and freshness significantly impact the final result, so prioritize premium supplies. Experiment with unique flavor combinations while maintaining the core ingredients for a balanced taste. Proper ingredient selection is the first step to creating delicious, professional-grade ice cream at home.
4.2 Understanding the Importance of Measurements
Accurate measurements are crucial for achieving the perfect texture and flavor when using a Rival ice cream maker. Ice cream relies on precise ratios of ingredients to ensure proper churning and aeration. Too much sugar can inhibit freezing, while too little may result in an icy texture. Similarly, the balance of cream and milk affects the richness and moisture content. Over- or under-measuring can lead to inconsistent results, such as an overly dense or too-soft final product. Proper measurements also ensure the right overrun, the amount of air incorporated during churning, which contributes to a smooth and creamy texture. Deviating from recommended proportions can disrupt the emulsion of fats, water, and sugars, essential for a professional-grade outcome. Therefore, adhering to precise measurements guarantees consistent and desirable results, making it a cornerstone of successful ice cream creation with the Rival ice cream maker.
Operating the Rival Ice Cream Maker
Operating the Rival ice cream maker involves simple steps to ensure smooth churning. Preparation and monitoring are key for perfect results every time, ensuring consistency and ease.
5.1 Preparing the Machine for Use
Before operating your Rival ice cream maker, ensure it is properly prepared. Start by washing and drying all components, including the bowl and paddle. Assemble the machine according to the manufacturer’s instructions, making sure all parts are securely locked in place. Pre-chill the bowl in the freezer for at least 6-8 hours to achieve optimal churning conditions. While the bowl chills, prepare your ingredients and mix-ins, ensuring they are cold and ready for use. Place the machine on a stable, even surface and plug it in. Double-check that the lid is securely fitted to prevent leaks during churning. Once everything is set, you’re ready to pour in your mixture and begin the churning process. Proper preparation ensures smooth operation and the best results for your homemade ice cream.
5.2 The Churning Process Explained
The churning process is the core of making ice cream with your Rival machine. Once the machine is prepared and the mixture is poured in, the paddle begins to churn, incorporating air and breaking down ice crystals. This process typically takes 20-30 minutes, depending on the recipe and mixture thickness. The machine automatically handles the churning, but monitoring is essential to ensure the desired consistency. You’ll notice the mixture gradually thickening into a creamy texture. For the best results, use a pre-chilled mixture and avoid overfilling the bowl. If adding mix-ins, wait until the mixture has nearly finished churning before incorporating them. Once the cycle completes, the ice cream will be ready to serve or transfer to an airtight container for hardening in the freezer. Proper churning ensures a smooth, even texture and optimal flavor distribution in your homemade ice cream.
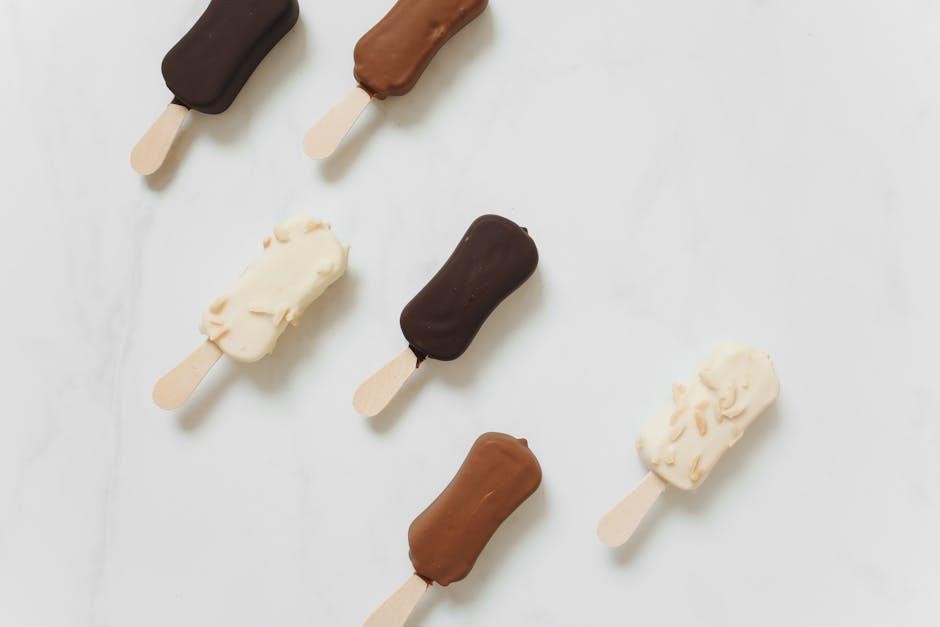
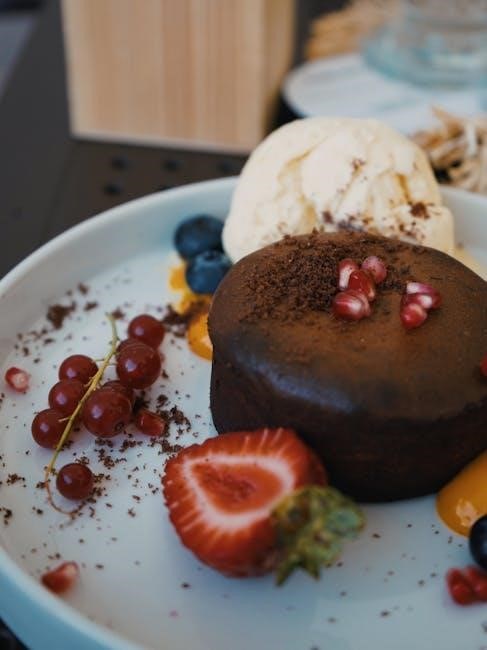
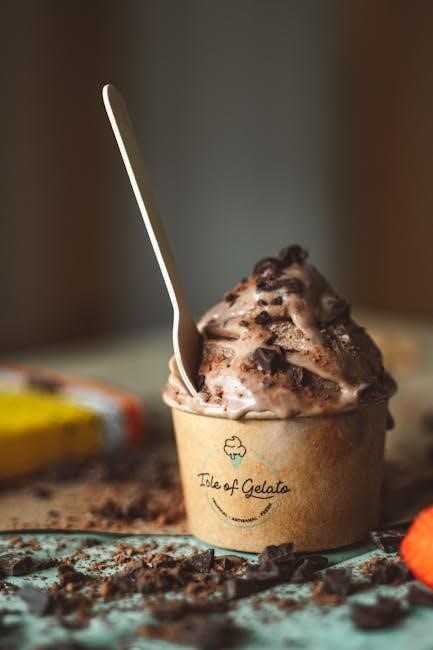
Customizing Your Ice Cream
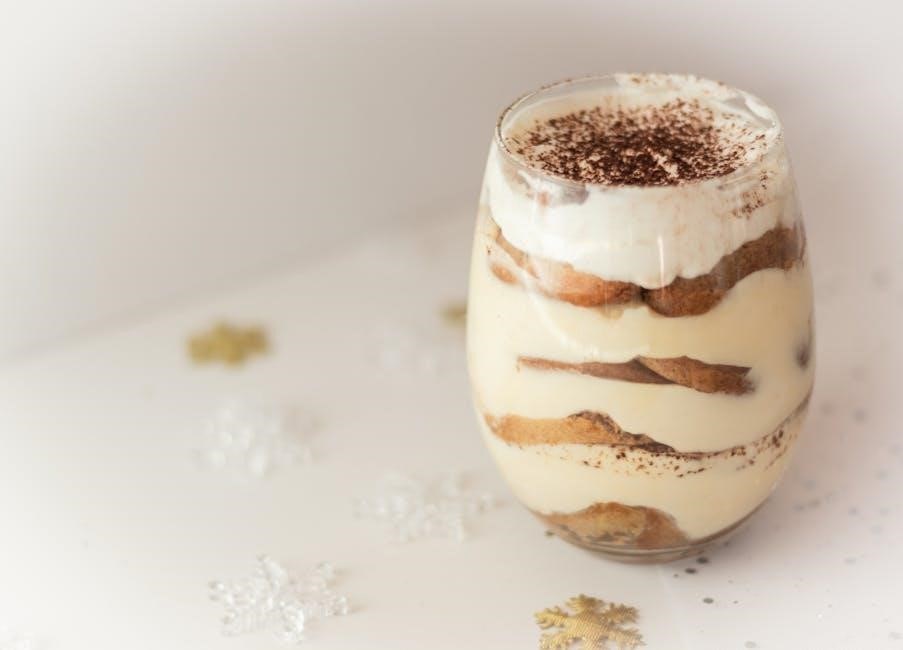
Customizing your ice cream allows you to create unique flavors and textures. Add mix-ins like fruits, nuts, or candies for personalized taste. Experiment with different bases and ingredients to craft one-of-a-kind recipes tailored to your preferences, ensuring every batch is a delicious reflection of your creativity in the kitchen.
6.1 Adding Mix-Ins for Unique Flavors
Adding mix-ins is a fantastic way to create unique and personalized ice cream flavors. Mix-ins can include a wide variety of ingredients such as fresh or dried fruits, nuts, candy pieces, cookies, or even brownie bits. These additions can enhance the texture and flavor of your ice cream, making it more exciting and tailored to your taste preferences. When incorporating mix-ins, it’s important to consider their size and texture to ensure they distribute evenly throughout the ice cream. Smaller pieces tend to work best, as they blend seamlessly into the churned mixture. For optimal results, add mix-ins toward the end of the churning process to prevent them from breaking down or becoming too finely ground. This step allows you to experiment with countless combinations, creating one-of-a-kind flavors that showcase your creativity.
6.2 Creating Personalized Recipes
Creating personalized recipes with your Rival Ice Cream Maker allows you to craft unique and delicious flavors tailored to your preferences. Start by experimenting with different base ingredients, such as cream, milk, or plant-based alternatives, and sweeteners like sugar, honey, or maple syrup. Add flavorings such as vanilla extract, cocoa powder, or fruit purees to create a foundation for your recipe. For a more adventurous twist, incorporate spices like cinnamon or nutmeg, or even liqueurs for adult-only flavors. Mix-ins can be added as previously discussed, but the key to personalization lies in balancing flavors and textures. Keep track of your experiments by jotting down ingredient ratios and tasting as you go. This process not only ensures consistency but also helps refine your creations. With practice, you’ll develop a keen sense of how flavors interact, allowing you to design truly one-of-a-kind recipes that impress friends and family.

Troubleshooting Common Issues
Address issues like the machine not turning on, uneven churning, or icy textures. Check power connections, ingredient ratios, and bowl preparation. Refer to the manual for advanced solutions.
- Ensure the machine is pre-chilled properly;
- Verify ingredient measurements for optimal results.
- Consult the user manual for detailed troubleshooting guides.
7.1 Common Problems and Solutions
When using your Rival ice cream maker, you may encounter issues such as the machine not churning, icy textures, or uneven mixing. These problems often stem from improper preparation or overlooked steps in the process.
- Machine Not Churning: Ensure the bowl is properly pre-chilled and the lid is securely locked. Check if the power cord is connected and the machine is turned on.
- Too Hard or Icy Texture: This usually occurs due to over-freezing or incorrect ingredient ratios. Allow the mixture to ripen in the fridge before churning and ensure accurate measurements.
- Mix-Ins Not Distributing: Add mix-ins during the last 2-3 minutes of churning. Overloading the machine with too many mix-ins can also cause poor distribution.
- Noisy Operation: Excessive noise may indicate improper assembly or worn parts. Refer to the manual for correct assembly and consider replacing worn components.
By addressing these common issues, you can achieve smoother, creamier results and extend the lifespan of your Rival ice cream maker.
7.2 Advanced Troubleshooting Techniques
For more complex issues with your Rival ice cream maker, advanced troubleshooting techniques can help resolve problems like inconsistent churning, motor performance, or unusual noises.
- Motor Overheating: If the motor overheats, unplug the device and let it cool. Ensure proper ventilation and avoid overloading the machine with dense mixtures.
- Inconsistent Churning: Check for worn or misaligned parts. Inspect the churn paddle and ensure it rotates freely. Replace any damaged components to restore smooth operation.
- Leakage During Use: Examine the gasket and seals for damage or misalignment. Replace worn seals and ensure all parts are securely fitted before operation.
- Electronic Malfunctions: Reset the machine by unplugging it for 30 minutes. If issues persist, consult the user manual or contact customer support for assistance.
These advanced techniques can help you identify and fix deeper issues, ensuring your Rival ice cream maker performs optimally for years to come.

Maintenance and Storage
Regular maintenance and proper storage are crucial for extending the life of your Rival ice cream maker. Clean thoroughly after each use and store in a dry, cool place to ensure optimal performance and longevity.

8.1 Cleaning the Ice Cream Maker
Cleaning your Rival ice cream maker is essential to maintain hygiene and functionality. Always unplug the machine before cleaning. Wipe the exterior with a damp cloth and mild detergent. For the interior, remove any leftover ice cream and rinse with warm water. Use a soft sponge or brush to scrub stubborn stains or residue. Avoid abrasive materials that could damage the surfaces. Regularly sanitize the churn and bowl with a mixture of water and white vinegar. Dry all components thoroughly to prevent rust or bacterial growth. For tough stains, soak parts in warm soapy water before scrubbing. Ensure all removable parts are dishwasher-safe before placing them in the dishwasher. Clean the machine after each use to prevent clogging and ensure smooth operation in future batches.
8.2 Proper Storage to Maintain Performance
Proper storage is crucial to maintain the performance and longevity of your Rival ice cream maker. After cleaning, ensure all parts are completely dry to prevent moisture buildup, which can lead to mold or rust. Store the machine in a cool, dry place, away from direct sunlight or heat sources. Remove any unused mix from the bowl and wash it thoroughly before storage. For the bowl, store it with the lid on or wrap it in plastic wrap to keep it clean. Avoid stacking heavy objects on the machine, as this could damage its structure. If storing for an extended period, consider placing desiccant packets near the machine to absorb any residual moisture. Always store removable parts separately in a protective container to prevent loss or damage. Proper storage ensures your Rival ice cream maker remains in excellent condition for future use.